BlogAnki how-to
Anki image occlusion: how to use it, step by step
Built into Anki since 23.10, no add-on needed. How to make the cards, which mode to pick, and what to do on your phone.
Omar··6 min read
Since Anki 23.10, image occlusion is built in. Open Add, change the type to Image Occlusion, pick or paste the image, draw a shape over each label, choose a mode, and click Add. Each shape, or group of shapes, becomes one card.
Make your first card
- Open Add, click Type, and choose Image Occlusion.
- Click Select Image, or paste a screenshot you just copied.
- Draw a rectangle, ellipse or polygon over each label you want to learn.
- Pick a mode (below) and click Add. Anki makes one card per shape.
That’s all, straight from Anki’s manual. No add-on needed since Anki 23.10.
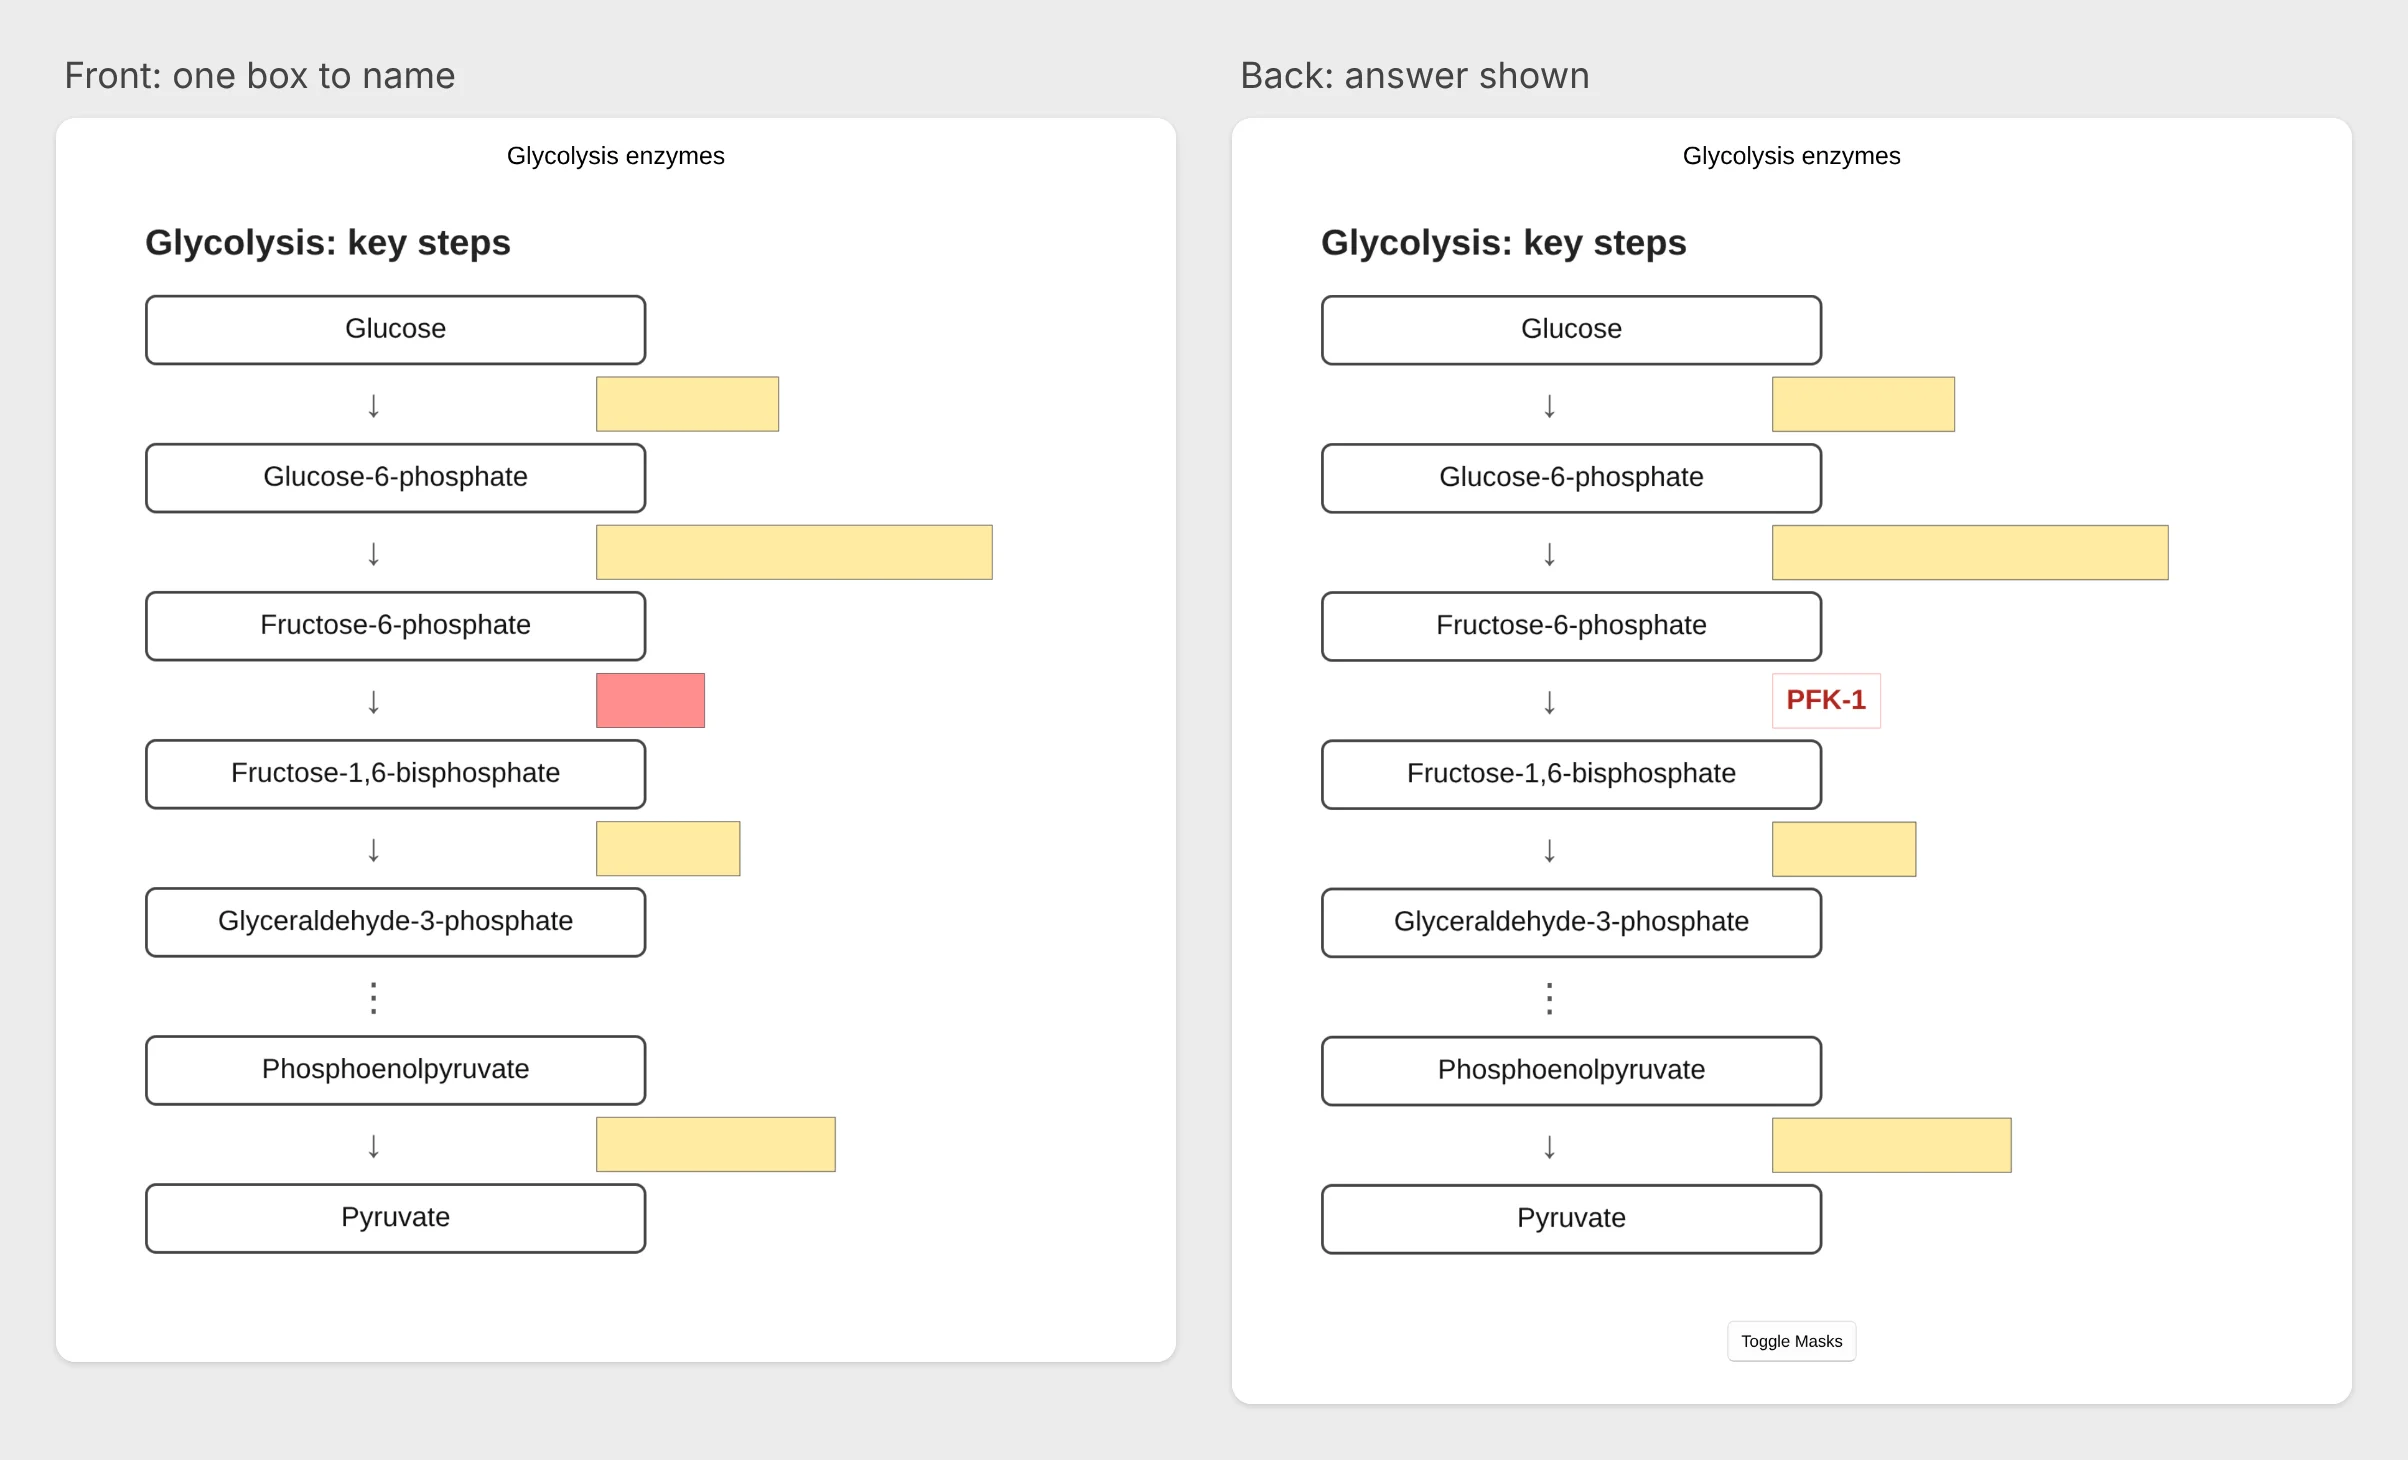
Hide All or Hide One?
- Hide All, Guess One: every label is covered, and one is revealed as the answer. Harder, closer to an exam.
- Hide One, Guess One: only the label you’re tested on is covered; you can see the rest. Easier, good for first learning.
Start with Hide One while you learn a diagram, then make Hide All the default once it sticks.
Group shapes into one card
Some answers have more than one label, like both sides of a structure. Select the shapes and group them: two or more grouped shapes make a single card. Ungroup to split them again.
Edit or delete shapes later
You can edit an occlusion from the review screen or the browser. One catch from the manual: deleting a shape doesn’t delete its card, so run Tools, then Empty Cards, afterwards.
Each card also has a Header (shown above the image on both sides) and Back Extra (shown under it on the back). Open them with Toggle Mask Editor.
On your phone
AnkiMobile and AnkiDroid both show image occlusion cards and can make them. Forum reports mention a few bugs: cards made in AnkiDroid’s editor showing no image (AnkiDroid thread), and AnkiMobile switching custom note types back to the default (AnkiMobile thread). If something looks off, make the cards on your computer and study them anywhere.
What makes a good occlusion
- Cover the label, not the structure. You want to name it, not find it.
- One fact per shape. A shape over a whole paragraph is a bad card.
- Crop the image. A slide with a title and a logo is mostly noise.
- Skip labels you’d never be asked about.
I use it for anatomy, histology and pathology images, and pathways and diagrams. My early mistake was too many boxes on one image: the cards got slow and confusing. Splitting a busy diagram into a few cropped images fixes that.
If your diagrams are already in your lecture slides, automatic image occlusion finds the labels and draws the boxes for you, so you only check them.
Diagram cards from your slides, done for you
AnkiDecks finds the labelled diagrams in your slides and makes the image occlusion cards for you, ready to download for Anki. The free plan makes 3 decks a month (up to 15 pages each).
Make cards from your notesFree to try · No credit card needed
Questions
- Do I still need the Image Occlusion Enhanced add-on?
- No. Anki has its own image occlusion since version 23.10. The add-on was the older way of doing it.
- Why do I have a card for a shape I deleted?
- Deleting a shape doesn’t delete its card. Run Tools, then Empty Cards, to clean them up.
- Where do I add notes for the back of the card?
- In the Back Extra field. The Header field shows above the image on both sides. Use Toggle Mask Editor to reach them.